New Builds, Remodels, & Additions: Call Us for a Home Transformation!
Request Consultation
Making the Cut: Mastering the Use of Tile Wedges for a Seamless Finish
The world of tiling is both an art and a science, brimming with various tools, techniques, and elements that contribute to achieving the perfect finish. Among these tools, tile wedges might seem like a minor player. But they play an essential role in ensuring your tiles are laid evenly and with precision. If you've ever wondered how professionals manage to create beautifully tiled surfaces with seamless grout lines, tile wedges are the secret weapon.
What are Tile Wedges?
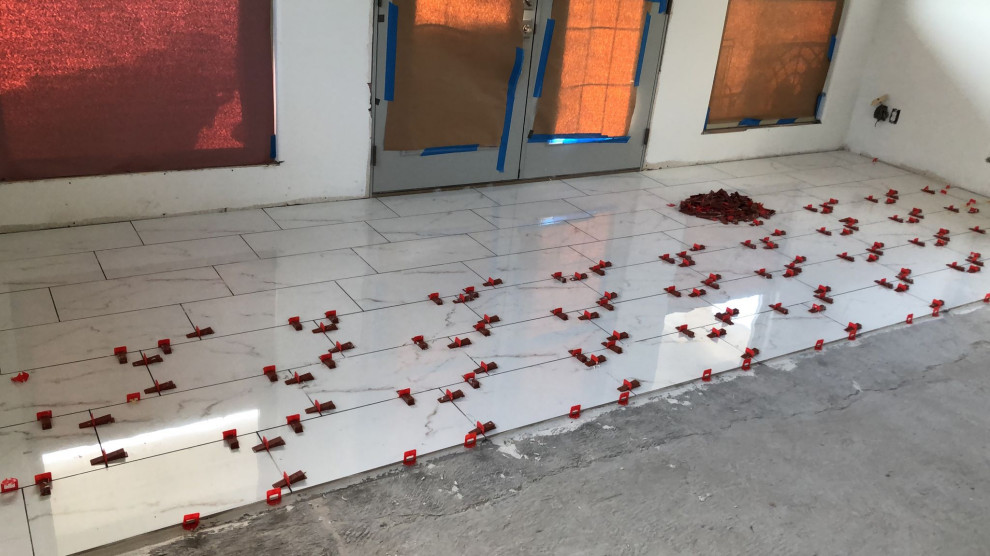
Tile wedges are simple tools, usually made from plastic or rubber, designed to assist in the alignment of tiles. They help ensure that tiles are laid level to each other, which is critical in avoiding lippage (the condition where one tile edge is higher than the adjacent one), and they also aid in maintaining consistent spacing for grout lines. Here, we delve into some tips and tricks for using tile wedges effectively and things that could go wrong if not used correctly.
Tips and Tricks for Using Tile Wedges
- Proper Sizing: Tile wedges come in various sizes, and using the right size for your tile and spacer setup is crucial. Larger tiles may require larger wedges, while smaller tiles will often require smaller wedges. Ensure that the wedge provides a snug fit but does not spread the tiles apart excessively.
- Correct Positioning: A common mistake is positioning the wedge too far into the gap between tiles. The point of the wedge should sit just below the tile's surface, creating an equal level between tiles while maintaining the gap for grouting.
- Balanced Pressure: Tile wedges should apply just the right amount of pressure—too much, and you risk cracking the tile or forcing it out of alignment; too little, and it won't serve its purpose of holding the tile in place. This balance comes with practice, but it’s a good idea to experiment on a few test tiles first.
- Timely Removal: Be sure to remove the wedges before the adhesive or mortar completely hardens. The ideal time to remove them is when the adhesive has set but is not fully hard, usually within 24 hours. Attempting to remove them too late might result in damage to the tile or grout line.
Potential Pitfalls with Tile Wedges
While tile wedges can be a significant advantage, there are several issues that could arise if not used correctly.
- Inconsistent Spacing: If wedges are not used consistently or are inserted at different depths, the resulting grout lines may be uneven, which can ruin the overall aesthetic of the tiled surface.
- Cracked Tiles: Overzealous use of tile wedges, applying too much pressure, can lead to tile cracks, especially with delicate tiles like glass or certain types of stone.
- Hard-to-Remove Wedges: If left in the mortar for too long, wedges can be challenging to remove without damaging the tile or the grout line.
- Lippage: When wedges are not used where they should be, lippage can occur. This unevenness is not just unattractive but could also be a trip hazard, especially in floor tiling applications.
In conclusion, mastering the use of tile wedges is a valuable skill for anyone delving into the world of tiling. With the right size and correct positioning, you can prevent tile lippage, ensure even grout lines, and accomplish a beautiful, professional-looking finish. But remember, tile wedges are not a panacea. They are most effective when used as part of a holistic approach that includes proper planning, surface preparation, and selection of the right adhesive and grout
