New Builds, Remodels, & Additions: Call Us for a Home Transformation!
Request Consultation
A Guide to Backsplash Selection, Removal, and Installation
A kitchen backsplash is more than just a practical feature protecting your walls from spills and splatters; it's also a key design element that can dramatically enhance the overall look of your kitchen. As the owner of HoneyB Construction, I've seen firsthand the transformative power of a well-chosen and expertly installed backsplash. Whether you're updating your existing backsplash or starting from scratch, this guide will help you navigate the process smoothly.
Selecting Your Backsplash
- Consider Your Kitchen Style: Choose a backsplash material and design that complement your countertops, cabinets, and overall kitchen aesthetic. Whether you prefer a classic subway tile, a modern glass mosaic, or a rustic stone, ensure it aligns with your style.
- Think About Maintenance: Some materials, like ceramic or porcelain tile, are easier to clean and maintain than others, such as natural stone, which may require sealing.
- Play with Color and Texture: A backsplash is a great opportunity to add a pop of color or an interesting texture to your kitchen. Don't be afraid to experiment!
Removing Existing Backsplash
- Prepare the Area: Cover your countertops and floors with protective sheeting, and remove any outlet covers or switch plates.
- Loosen Tiles: Using a putty knife or a similar tool, gently pry the tiles away from the wall. For adhesive-backed tiles, you may need to use a heat gun to soften the adhesive.
- Clean the Wall: Once all the tiles are removed, scrape off any remaining adhesive and repair any damage to the wall. Ensure the surface is smooth and clean before installing the new backsplash.
Installing New Backsplash
- Measure and Plan: Carefully measure the area and plan your layout, considering any outlets or switches. Dry fit the tiles to ensure your design works as intended.
- Apply Adhesive: For traditional tile backsplashes, spread tile adhesive on the wall using a notched trowel. For peel-and-stick tiles, simply remove the backing and press the tiles onto the wall.
- Set the Tiles: Starting from the bottom, press the tiles firmly into the adhesive, using spacers if needed to maintain even gaps. Work in small sections to prevent the adhesive from drying out.
- Grout and Seal: Once the tiles are set and the adhesive has dried, apply grout between the tiles using a rubber float. Wipe away any excess grout with a damp sponge. For natural stone tiles, apply a sealer to protect the surface.
Tips and Tricks
- Use a Level: Ensure your first row of tiles is perfectly level, as this will set the tone for the rest of the installation.
- Cut Tiles with Care: Use a tile cutter or wet saw for precise cuts, especially around outlets or corners.
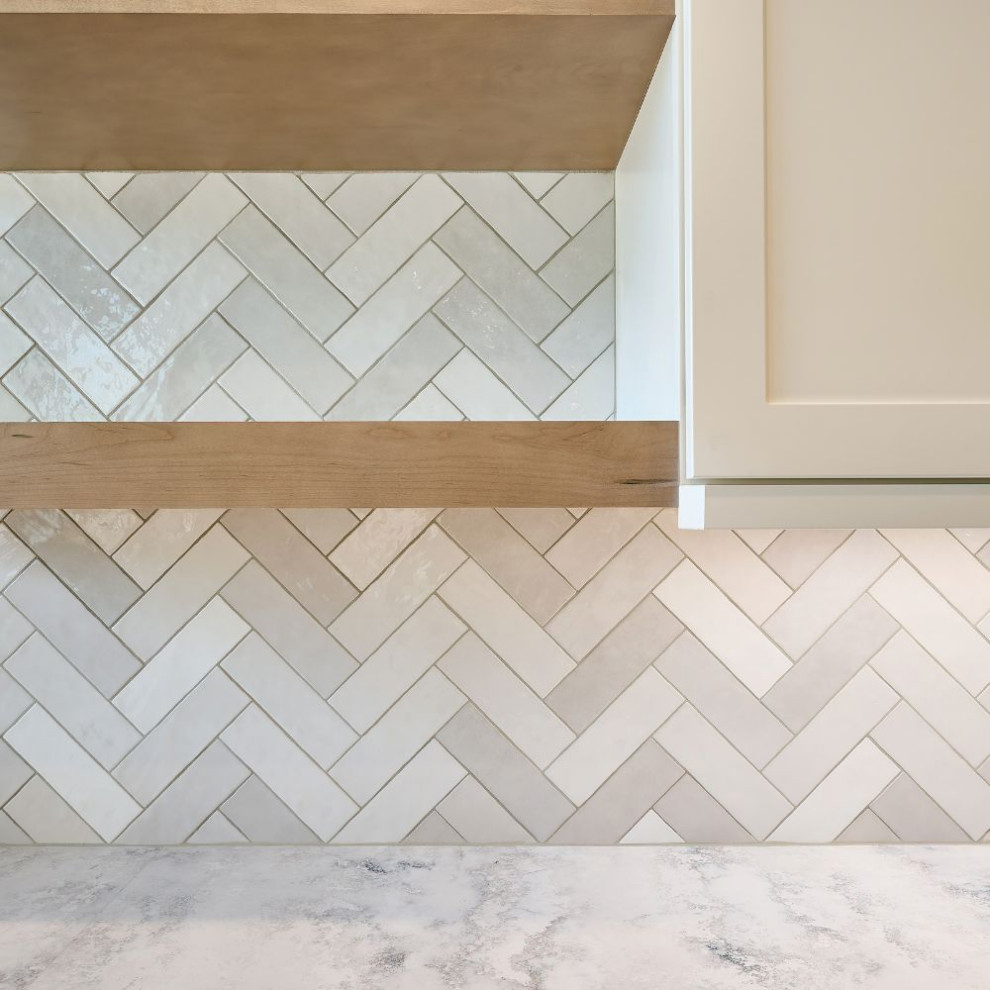
- Experiment with Patterns: Don't be afraid to try different tile patterns, such as herringbone or chevron, to add visual interest to your backsplash.
- Consider Professional Installation: For intricate designs or materials that are difficult to work with, hiring a professional installer can ensure a flawless finish.
To much to tackle by yourself? Contact HoneyB to assist you
A new backsplash can significantly elevate the look of your kitchen, adding both style and functionality. By carefully selecting your materials, preparing your workspace, and following proper installation techniques, you can achieve a stunning result that reflects your personal taste and complements your kitchen's overall design. If you're ready to embark on a backsplash renovation project, HoneyB Construction is here to offer expert advice and professional installation services to ensure your vision comes to life.